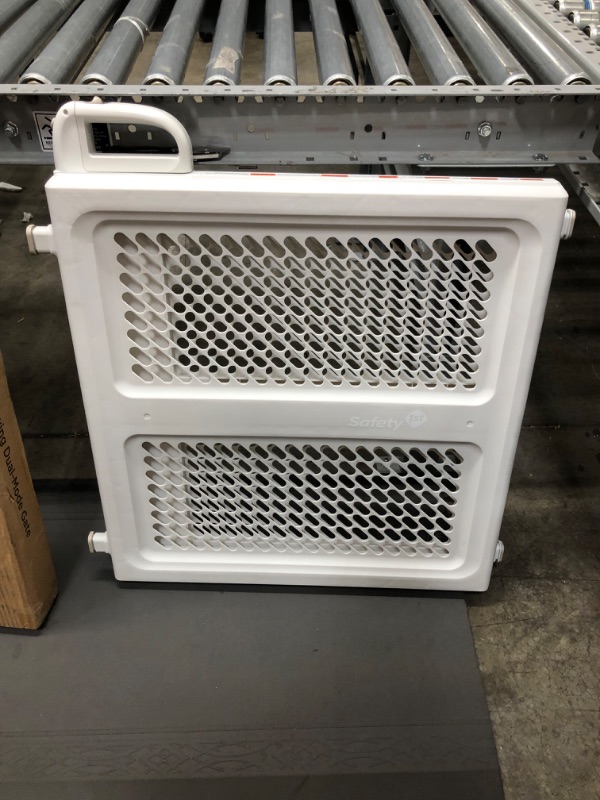
View 3 of Safety 1st Lift, Lock and Swing Gate

Double tap image to zoom
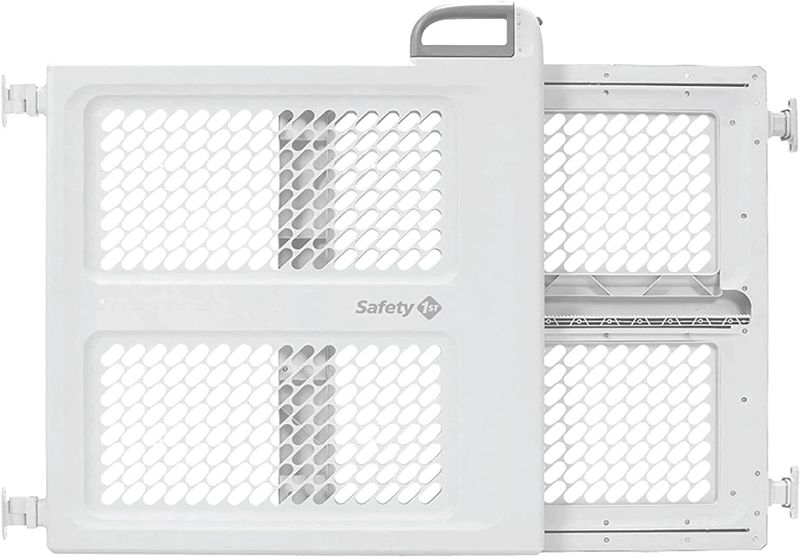
View 1 of Safety 1st Lift, Lock and Swing Gate

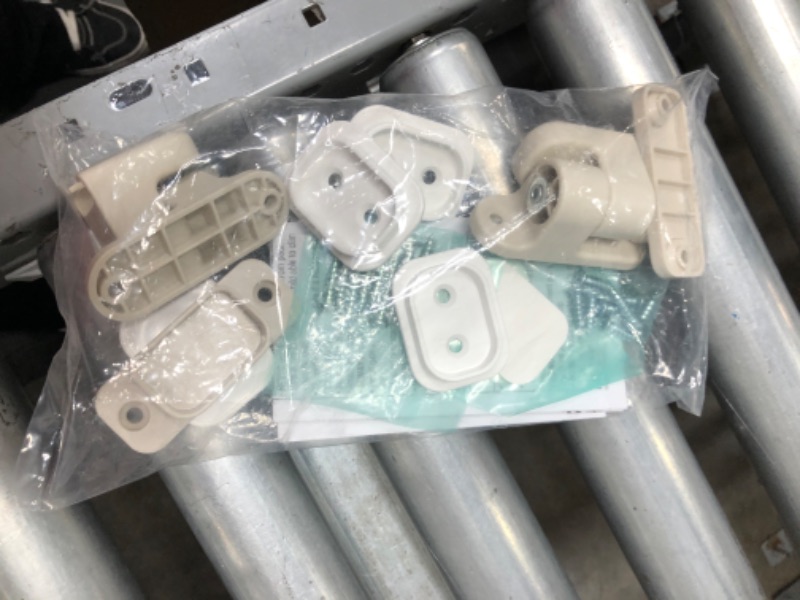
View 2 of Safety 1st Lift, Lock and Swing Gate

View 3 of Safety 1st Lift, Lock and Swing Gate