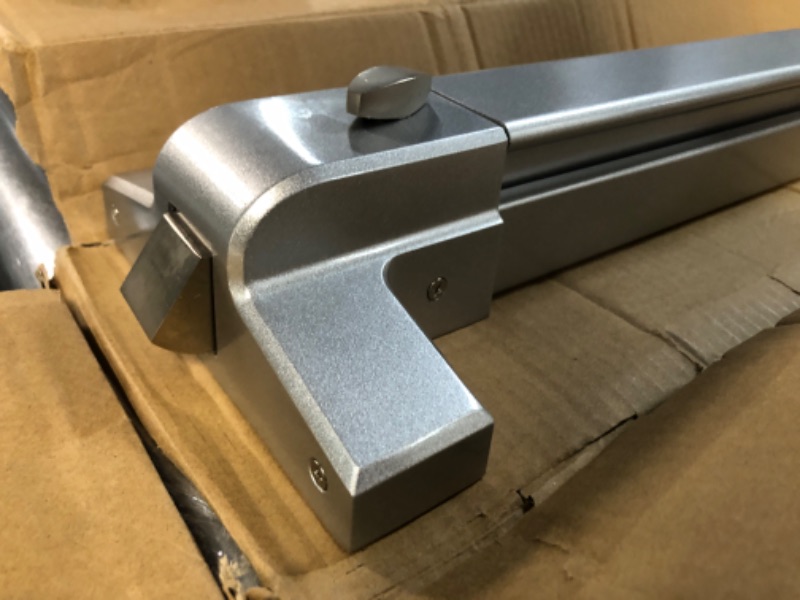
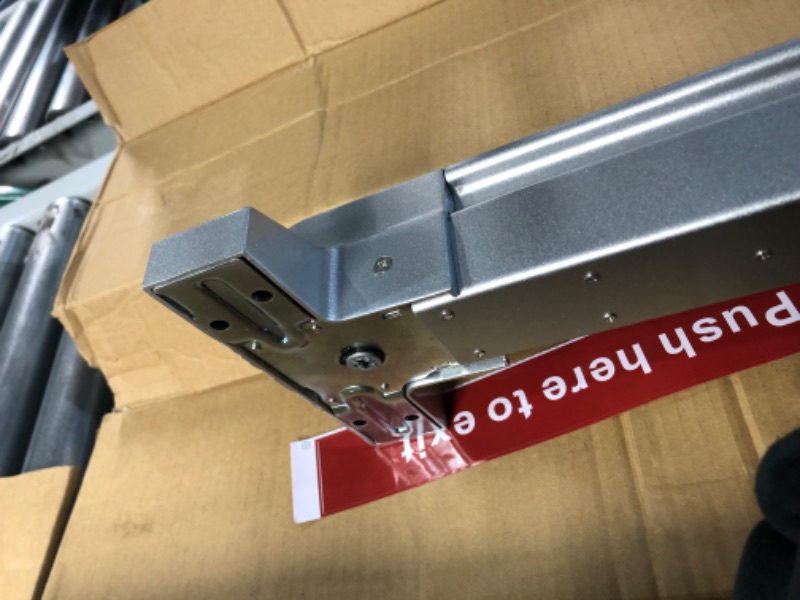
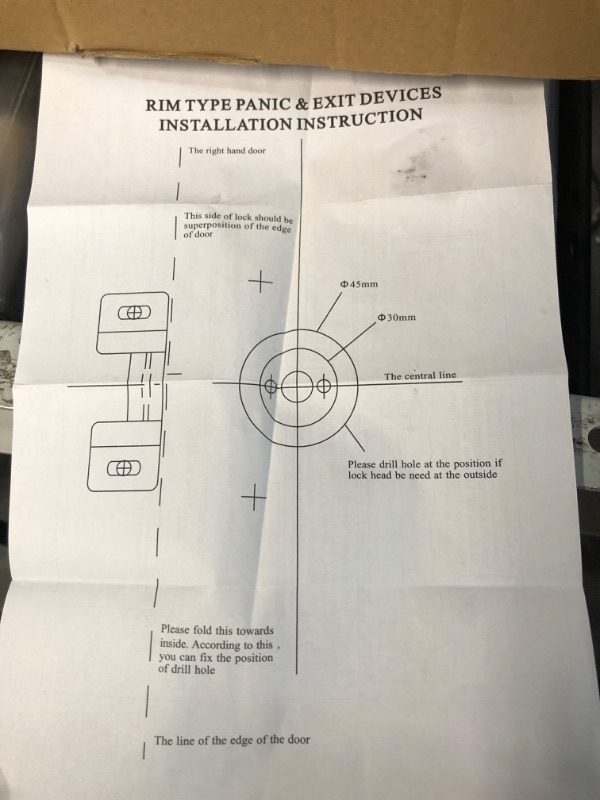
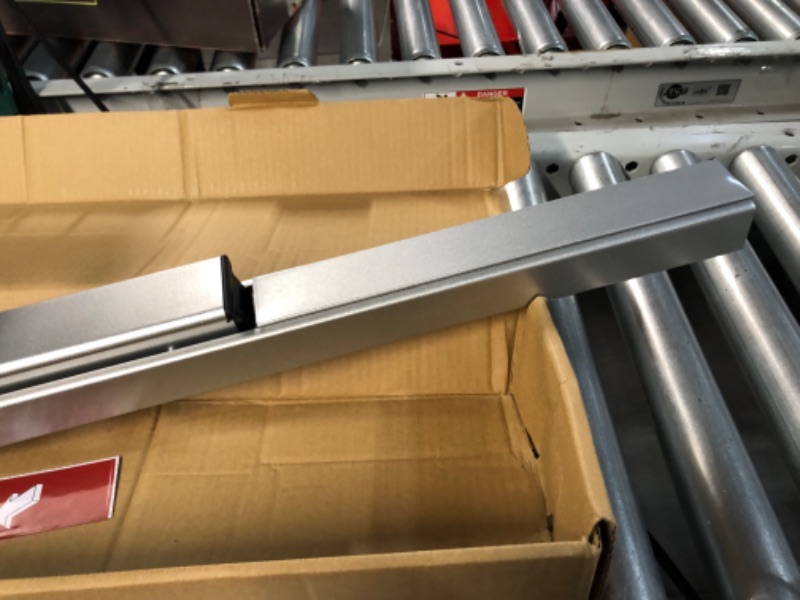
View 3 of **SEE NOTES** Push Panic Bar Exit Device

Double tap image to zoom
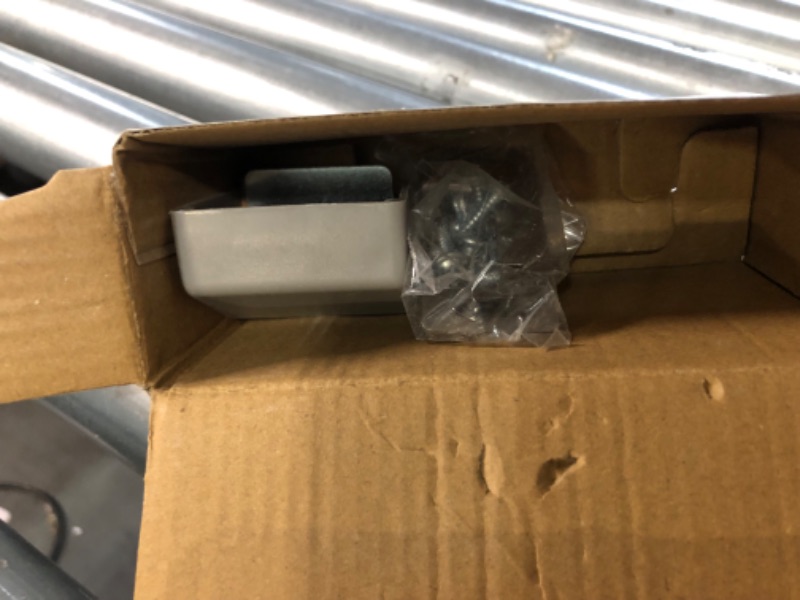
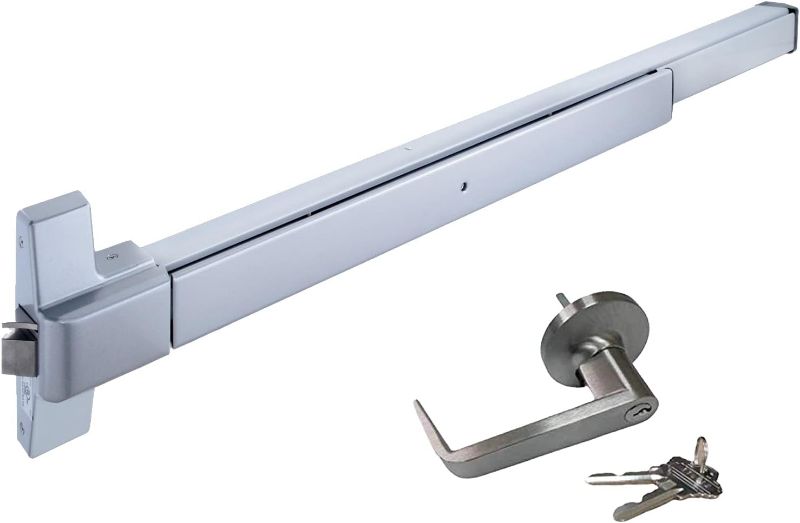
View 1 of **SEE NOTES** Push Panic Bar Exit DeviceView 2 of **SEE NOTES** Push Panic Bar Exit DeviceView 3 of **SEE NOTES** Push Panic Bar Exit DeviceView 4 of **SEE NOTES** Push Panic Bar Exit DeviceView 5 of **SEE NOTES** Push Panic Bar Exit DeviceView 6 of **SEE NOTES** Push Panic Bar Exit Device