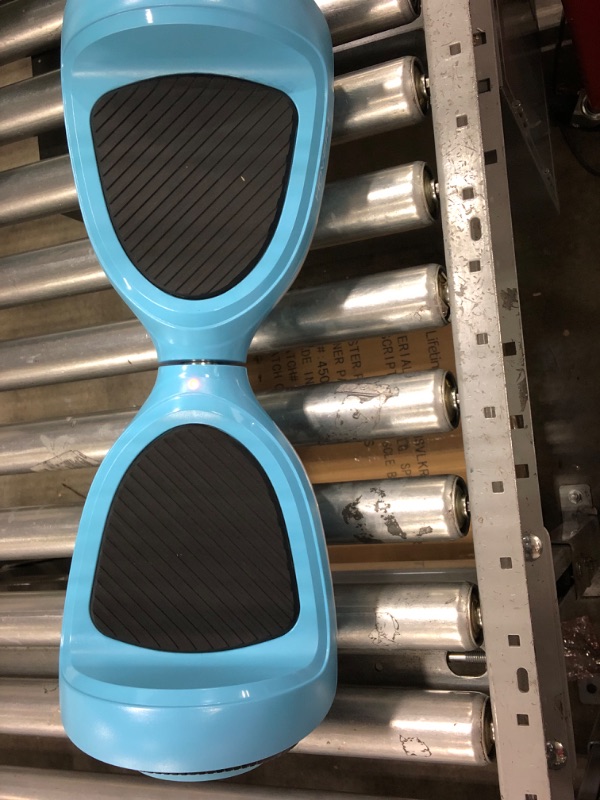
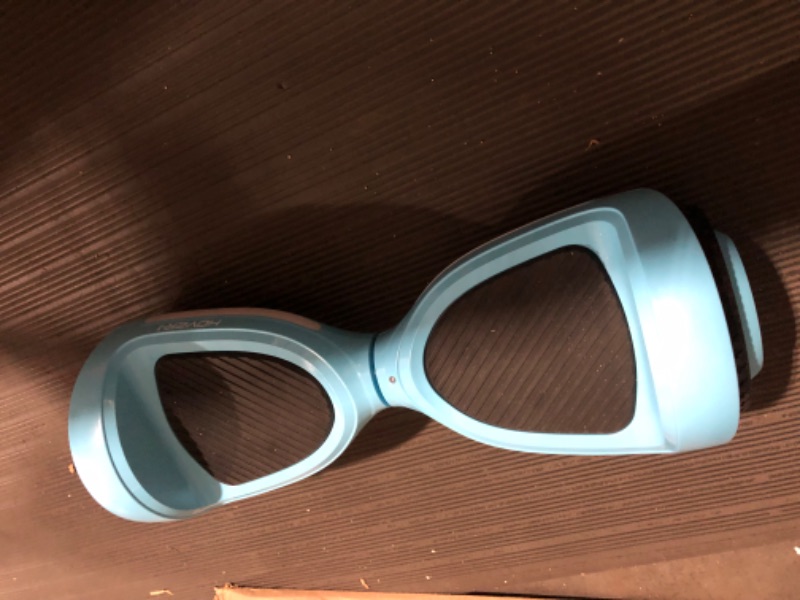
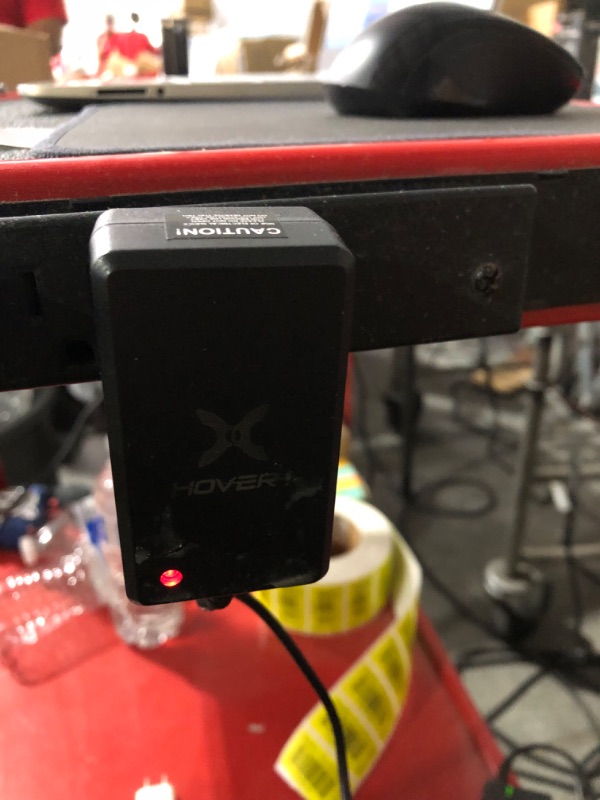
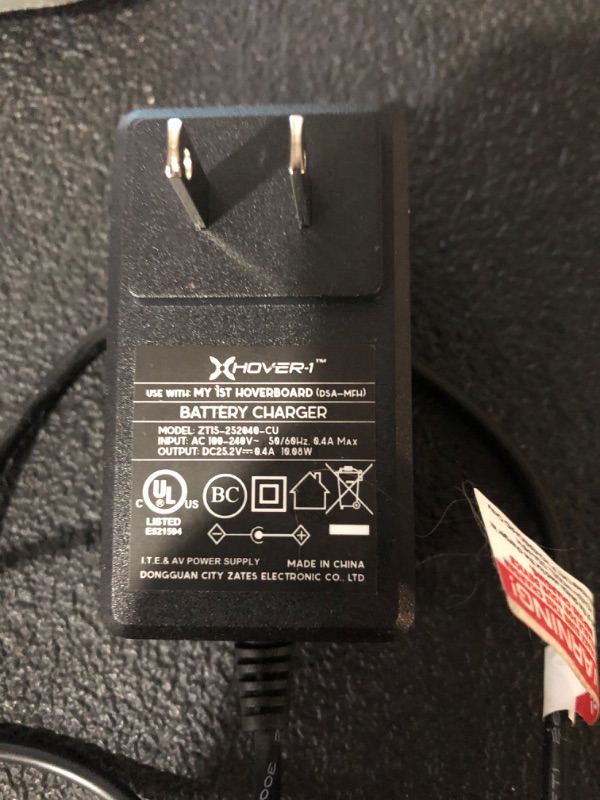
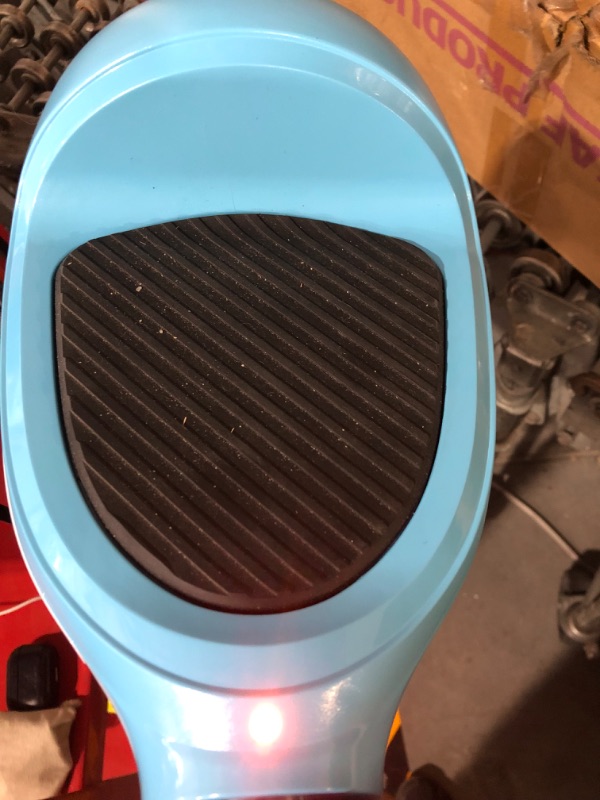
View 7 of **PARTS ONLY** *See Notes*  Hover-1 My First Hoverboard Electric Self-Balancing Hoverboard

Double tap image to zoom
View 1 of **PARTS ONLY** *See Notes*  Hover-1 My First Hoverboard Electric Self-Balancing HoverboardView 2 of **PARTS ONLY** *See Notes*  Hover-1 My First Hoverboard Electric Self-Balancing HoverboardView 3 of **PARTS ONLY** *See Notes*  Hover-1 My First Hoverboard Electric Self-Balancing HoverboardView 4 of **PARTS ONLY** *See Notes*  Hover-1 My First Hoverboard Electric Self-Balancing HoverboardView 5 of **PARTS ONLY** *See Notes*  Hover-1 My First Hoverboard Electric Self-Balancing HoverboardView 6 of **PARTS ONLY** *See Notes*  Hover-1 My First Hoverboard Electric Self-Balancing HoverboardView 7 of **PARTS ONLY** *See Notes*  Hover-1 My First Hoverboard Electric Self-Balancing HoverboardView 8 of **PARTS ONLY** *See Notes*  Hover-1 My First Hoverboard Electric Self-Balancing HoverboardView 9 of **PARTS ONLY** *See Notes*  Hover-1 My First Hoverboard Electric Self-Balancing HoverboardView 10 of **PARTS ONLY** *See Notes*  Hover-1 My First Hoverboard Electric Self-Balancing Hoverboard