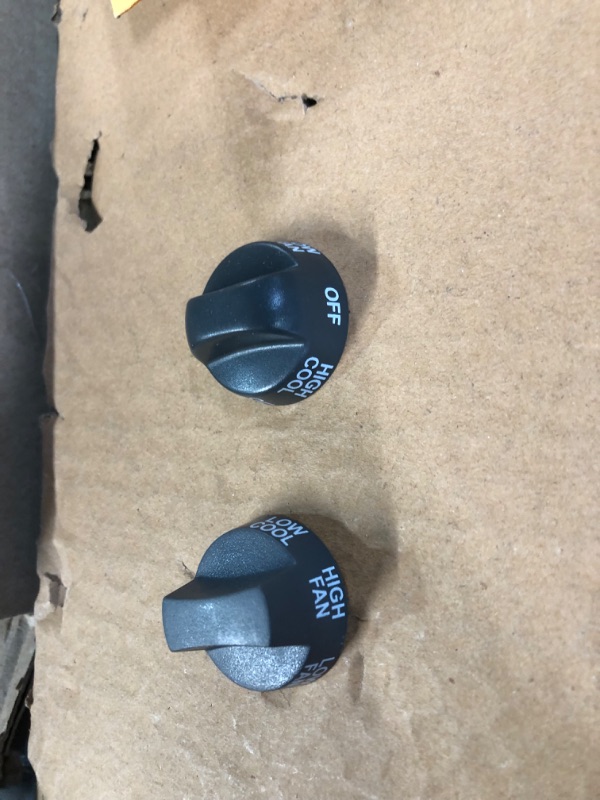
View 3 of Coleman Heatstrip Assembly - see notes

Double tap image to zoom
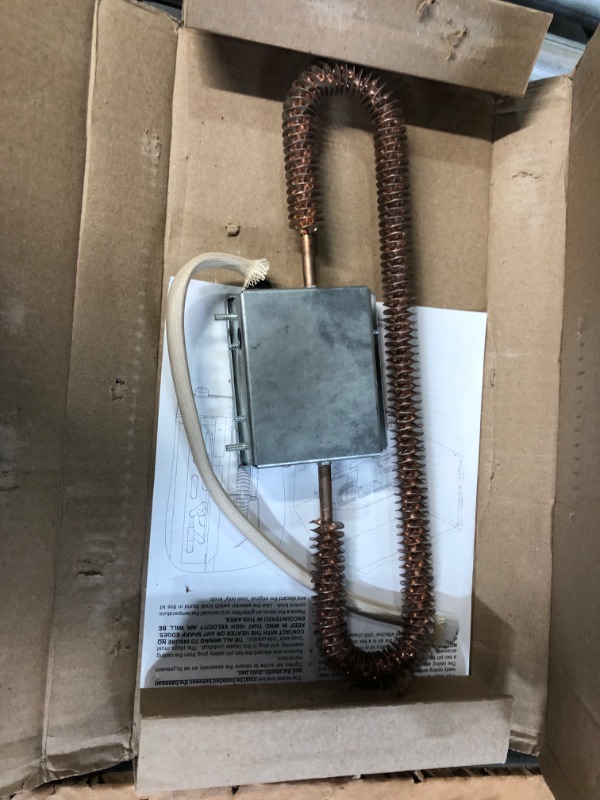
View 1 of Coleman Heatstrip Assembly - see notesView 2 of Coleman Heatstrip Assembly - see notesView 3 of Coleman Heatstrip Assembly - see notes